How to reduce unused JavaScript in your code?
Learn how to enhance your application's performance by reducing unused JavaScript in your code. We will discuss various techniques with code examples.
Cutting down on JavaScript is super important when you're building modern websites. It's a big deal for making your pages work well and be more efficient overall.
As technology in software keeps growing, everyone wants websites to be quicker and work better, with less JavaScript taking up space. If you have extra JavaScript that you're not using, it just makes your web apps bigger and slower.
This article will show you some tricks and tips to get rid of this extra JavaScript, so you can save time, make your website work faster, and make things run more smoothly.
What is unused JavaScript?
Simply put, unused JavaScript, often referred to as "dead code," is any code in your web app that the app doesn't use or require, yet it's still present in the JavaScript bundle sent to the browser. This idle code just hangs around, making your JavaScript bundle larger, and that can affect how well your website performs.
There are a few reasons why you might have unused code in your JavaScript bundle.
One common reason is that you added code during development, but as your project progressed, you ended up not needing it anymore. Unfortunately, you might forget to take it out when you send the final bundle to the browser. This unused code could be functions, classes, or variables that are just sitting there, not doing anything in your app.
Another reason could be unused dependencies. This means you're using external JavaScript code in your project that you don't need. What's worse, these external bits of code might have their own unused JavaScript, adding even more unnecessary stuff to your project. It's like having extra baggage that your website doesn't need, and it can slow things down.
Removing unused code:
You can get rid of unused JavaScript in your web apps using a few methods. These tips and tricks will assist you in sending out JavaScript bundles that are stronger and work more efficiently on the web, whether you're using basic JavaScript or specific libraries/frameworks such as React, SolidJS, or Vue.js.
Code Splitting:
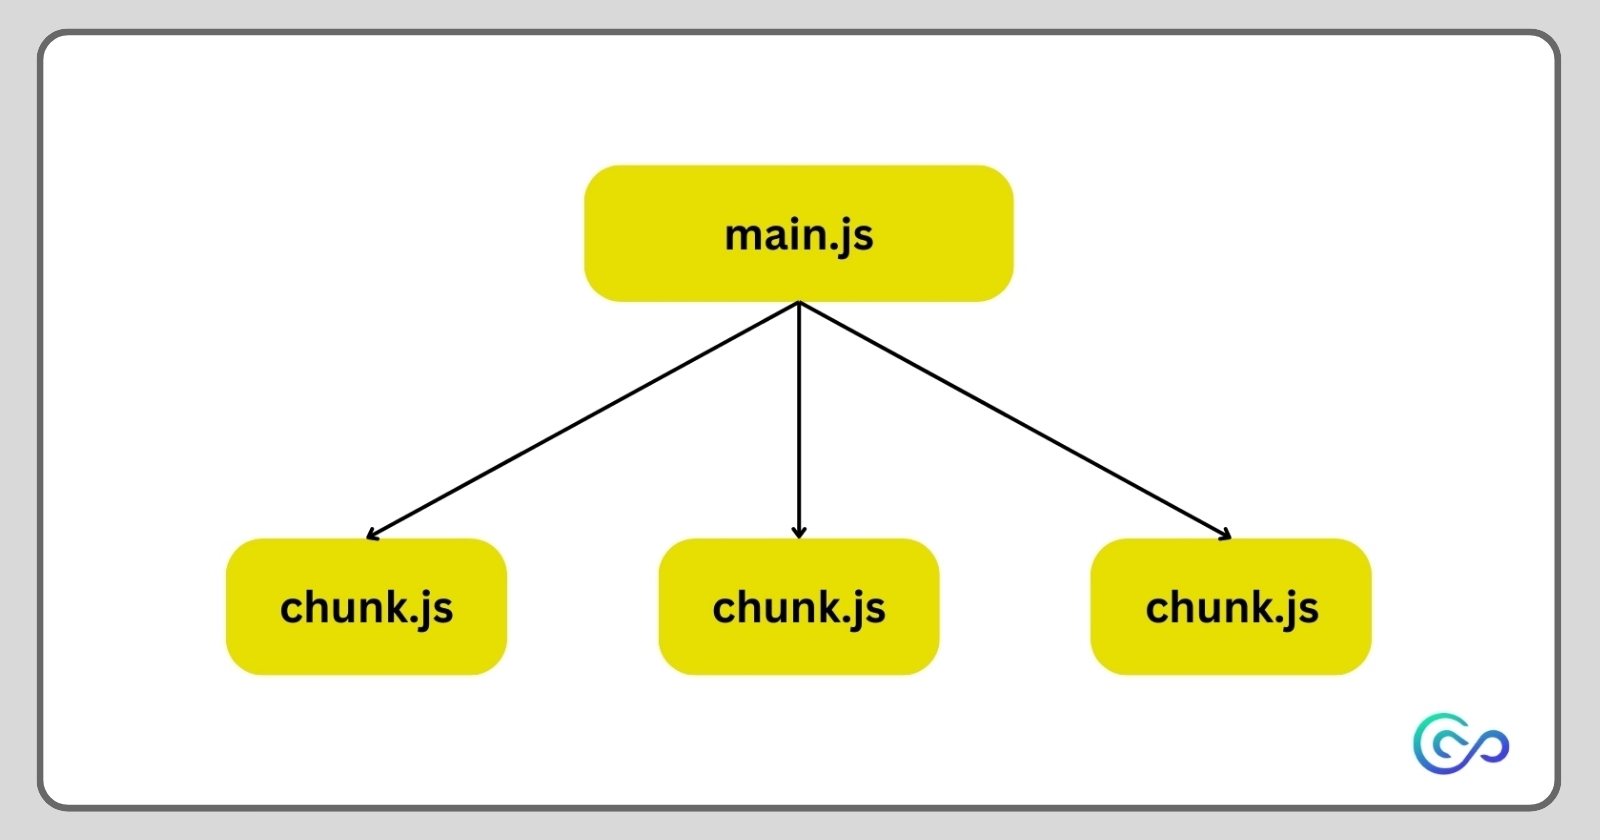
Code splitting is like breaking down your JavaScript code into smaller, more manageable pieces. Then, you can load these pieces when you need them or all at once, making it so you don't have to load your entire JavaScript package every single time—just what you need.
Imagine having just one JavaScript bundle that looks something like this:
<script src="main.js"></script> // 100kb file
You can split it into smaller chunks that can be downloaded only when needed:
<script async defer src="chunk1.js"></script> // 30 kb file
<script async defer src="chunk2.js"></script> // 30 kb file
<script async defer src="chunk3.js"></script> // 30 kb file
This approach lessens the overall network load on the main thread, which is in charge of kicking off and fetching JavaScript scripts:

If you're working with a JavaScript library or framework such as Next.js or Vue, you don't have to do this yourself — many modern JavaScript frameworks automatically take care of code splitting.
Yet, you can assign certain components for server-side use only. This helps the framework intelligently break down JavaScript into even smaller parts that don't need to be bundled with client-side JavaScript chunks.
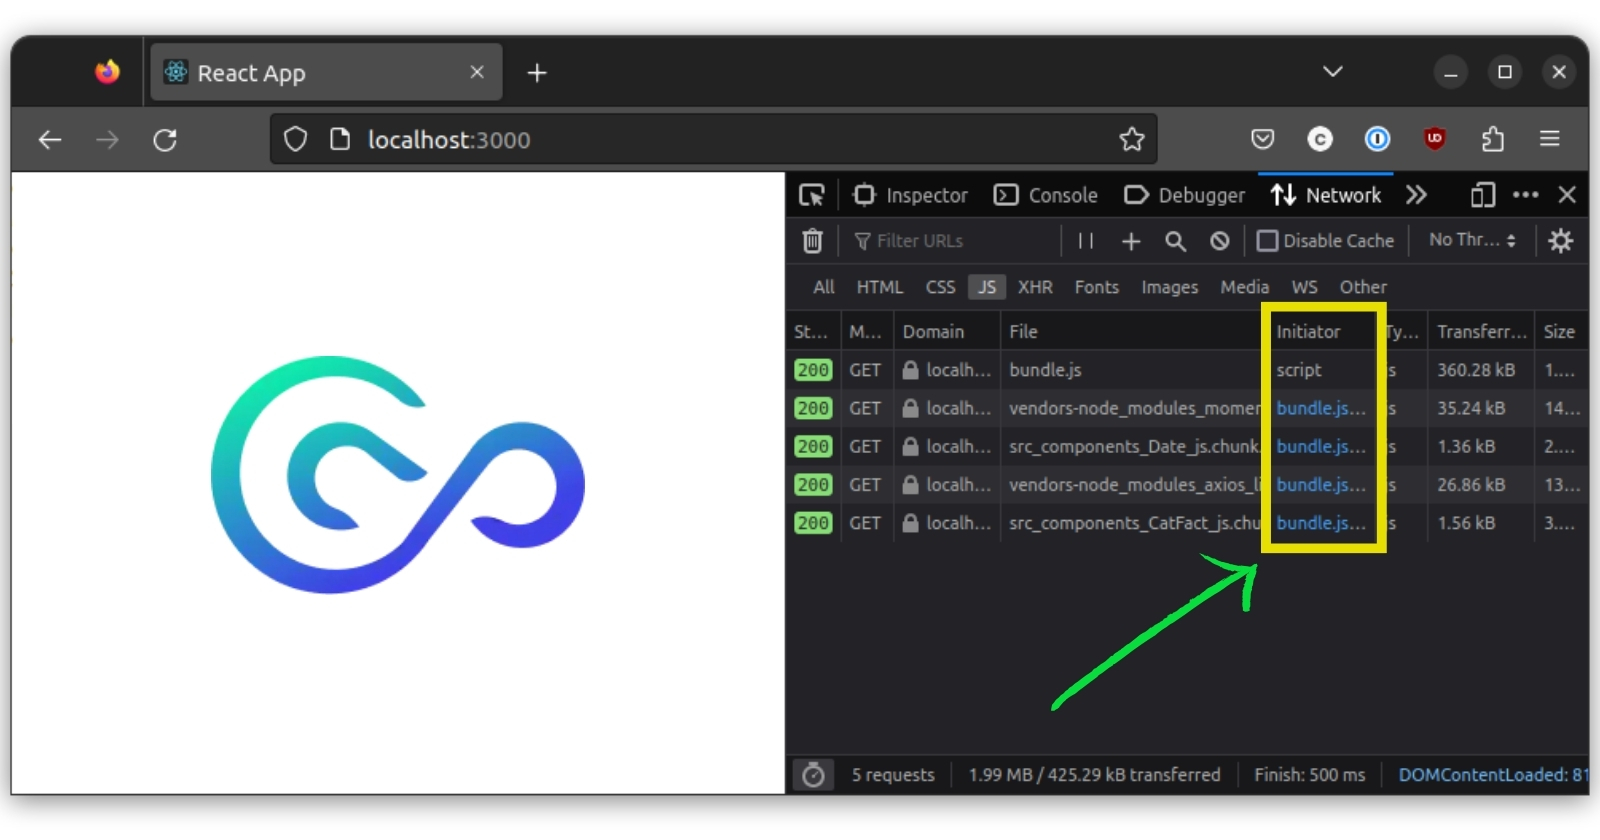
A lot of organizations put this strategy to use in real-world scenarios, showing how effective it is. Let's take a look at how code splitting works on the React website as an example:

Tree shaking:
Tree shaking is about getting rid of useless code, which means cutting out the JavaScript that your app doesn't use. When you're putting together your JavaScript chunks to send to the browser, a bunch of popular bundlers like Webpack, Rollup, or Vite use a tree-shaking technique to make sure only the necessary stuff makes it into the mix.
To make sure tree shaking works in your bundle, stick to the modern ES6 syntax in your JavaScript components. That means using the import and export syntax.
// default import
import Header from 'Components'
// named import
import { Header } from 'Components'

// default export
export default Header
// named export
export { Header }
The modern ES6 syntax assists your bundler in spotting dead code, much like how ESLint signals if there's an imported component that isn't used anywhere.
JavaScript minification:
Having less JavaScript in your bundle translates to a quicker download for the browser. To keep your JavaScript file as compact as possible, make sure to minify it before sending it out.
Minifying JavaScript involves removing unnecessary elements like whitespaces, syntax highlighting, comments, and other parts of the code that aren't essential for the final production build. These extra bits can bloat the bundle with unused code.
Even seemingly straightforward JavaScript code can be condensed and tweaked. Take a look at this example of basic JavaScript code before the minification process:
// multiply function
const multiply = (a, b) => {
   return a * b
}

// call multiply function
multiply(3, 4)
Here’s how this code looks after minification:
const multiply = (a, b) => a * b;
multiply(3, 4);
Think about the impact minifying JavaScript could have on extensive bundles!
Minifying JavaScript is simpler than you'd imagine. There are various online tools for JavaScript minification, like Terser, Uglify, babel-minify, and others that you can choose from.
Load JavaScript asynchronously:
Here's a handy tip that can save you a bunch of time on network bandwidth: always load your JavaScript asynchronously.
You can achieve this by adding 'async' and 'defer' to your JavaScript scripts. This makes sure that downloading JavaScript won't hold up or stop your HTML from being parsed or displayed while the JavaScript is loading.
Both 'async' and 'defer' manage the downloading and execution of JavaScript scripts, but they do it in a slightly different order. You can choose what works best for your project.
An async JavaScript script works as shown in this image:

Meanwhile, a defer JavaScript script works like so:

In lots of situations, using both 'async' and 'defer' does the trick nicely. Here's an example of how you can write this:
<script async defer src="main.js"></script>
Dynamic Imports
Now, with ES6 modules in plain JavaScript, you can pull off dynamic imports. These come in handy when you need to load JavaScript modules or scripts based on certain conditions. Here's how you'd write dynamic imports:
import('./helper.js')
  .then((module) => {
    // use helper code here
  })
  .catch((error) => {
    // catch errors
});
This approach lets us ask for a JavaScript bundle once specific conditions are fulfilled, instead of importing every JavaScript component right at the beginning of the file. Check out this code snippet where the module loads only after the event listener is attached:
document.getElementById('dashboard').addEventListener('click', () => {
  import('./helper.js')
    .then((module) => {
      // Use helper module APIs
      module.callSomeFunction();
    })
    // catch unexpected error here
    .catch((error) => {
      console.error("Oops! An error has occurred");
    });
});
Lazy loading technique
Lazy loading in JavaScript is a simple yet super handy technique. When done right, it can save your network bandwidth. The basic idea is to only load the JavaScript modules that you need at that moment.
One smart trick is to load JavaScript based on the height of the viewport. Let's say you have a super long list of users. It wouldn't make sense to load the details of, let's say, the 430th user when that info isn't visible on the current screen.
Some cool libraries handle this. They make sure your JavaScript modules only load when a specific user, like the 430th, shows up on the screen.
And guess what? Lazy loading isn't just for lists. It works for other things too, like images, videos, a bunch of nodes, and more. For instance, you can show a placeholder first, and then the actual image and its related JavaScript get downloaded by the browser.
These tricks not only help in sending less JavaScript code but also make the user experience a whole lot better.
Conclusion
In this article, we covered six techniques to send out less JavaScript and boost your project's performance.
Remember, each project is unique with its architecture and patterns. While many of the tips we talked about should be helpful, not all may fit your specific situation.
Trust your instincts to figure out what suits you and your project the best. This way, you can make your websites and apps stronger with confidence.
We at CreoWis believe in sharing knowledge publicly to help the developer community grow. Let’s collaborate, ideate, and craft passion to deliver awe-inspiring product experiences to the world.
Let's connect:
This article is crafted by Syket Bhattachergee, a passionate developer at CreoWis. You can reach out to him on X/Twitter, LinkedIn, and follow his work on the GitHub.