CraftDevelopIntegrate

logo
shadow
How to create a link previewer with Next.js?

How to create a link previewer with Next.js?

In this blog we will discuss about building your own link previewer with NextJs.

Chaitanya Agarwal
January 8, 20247 min read

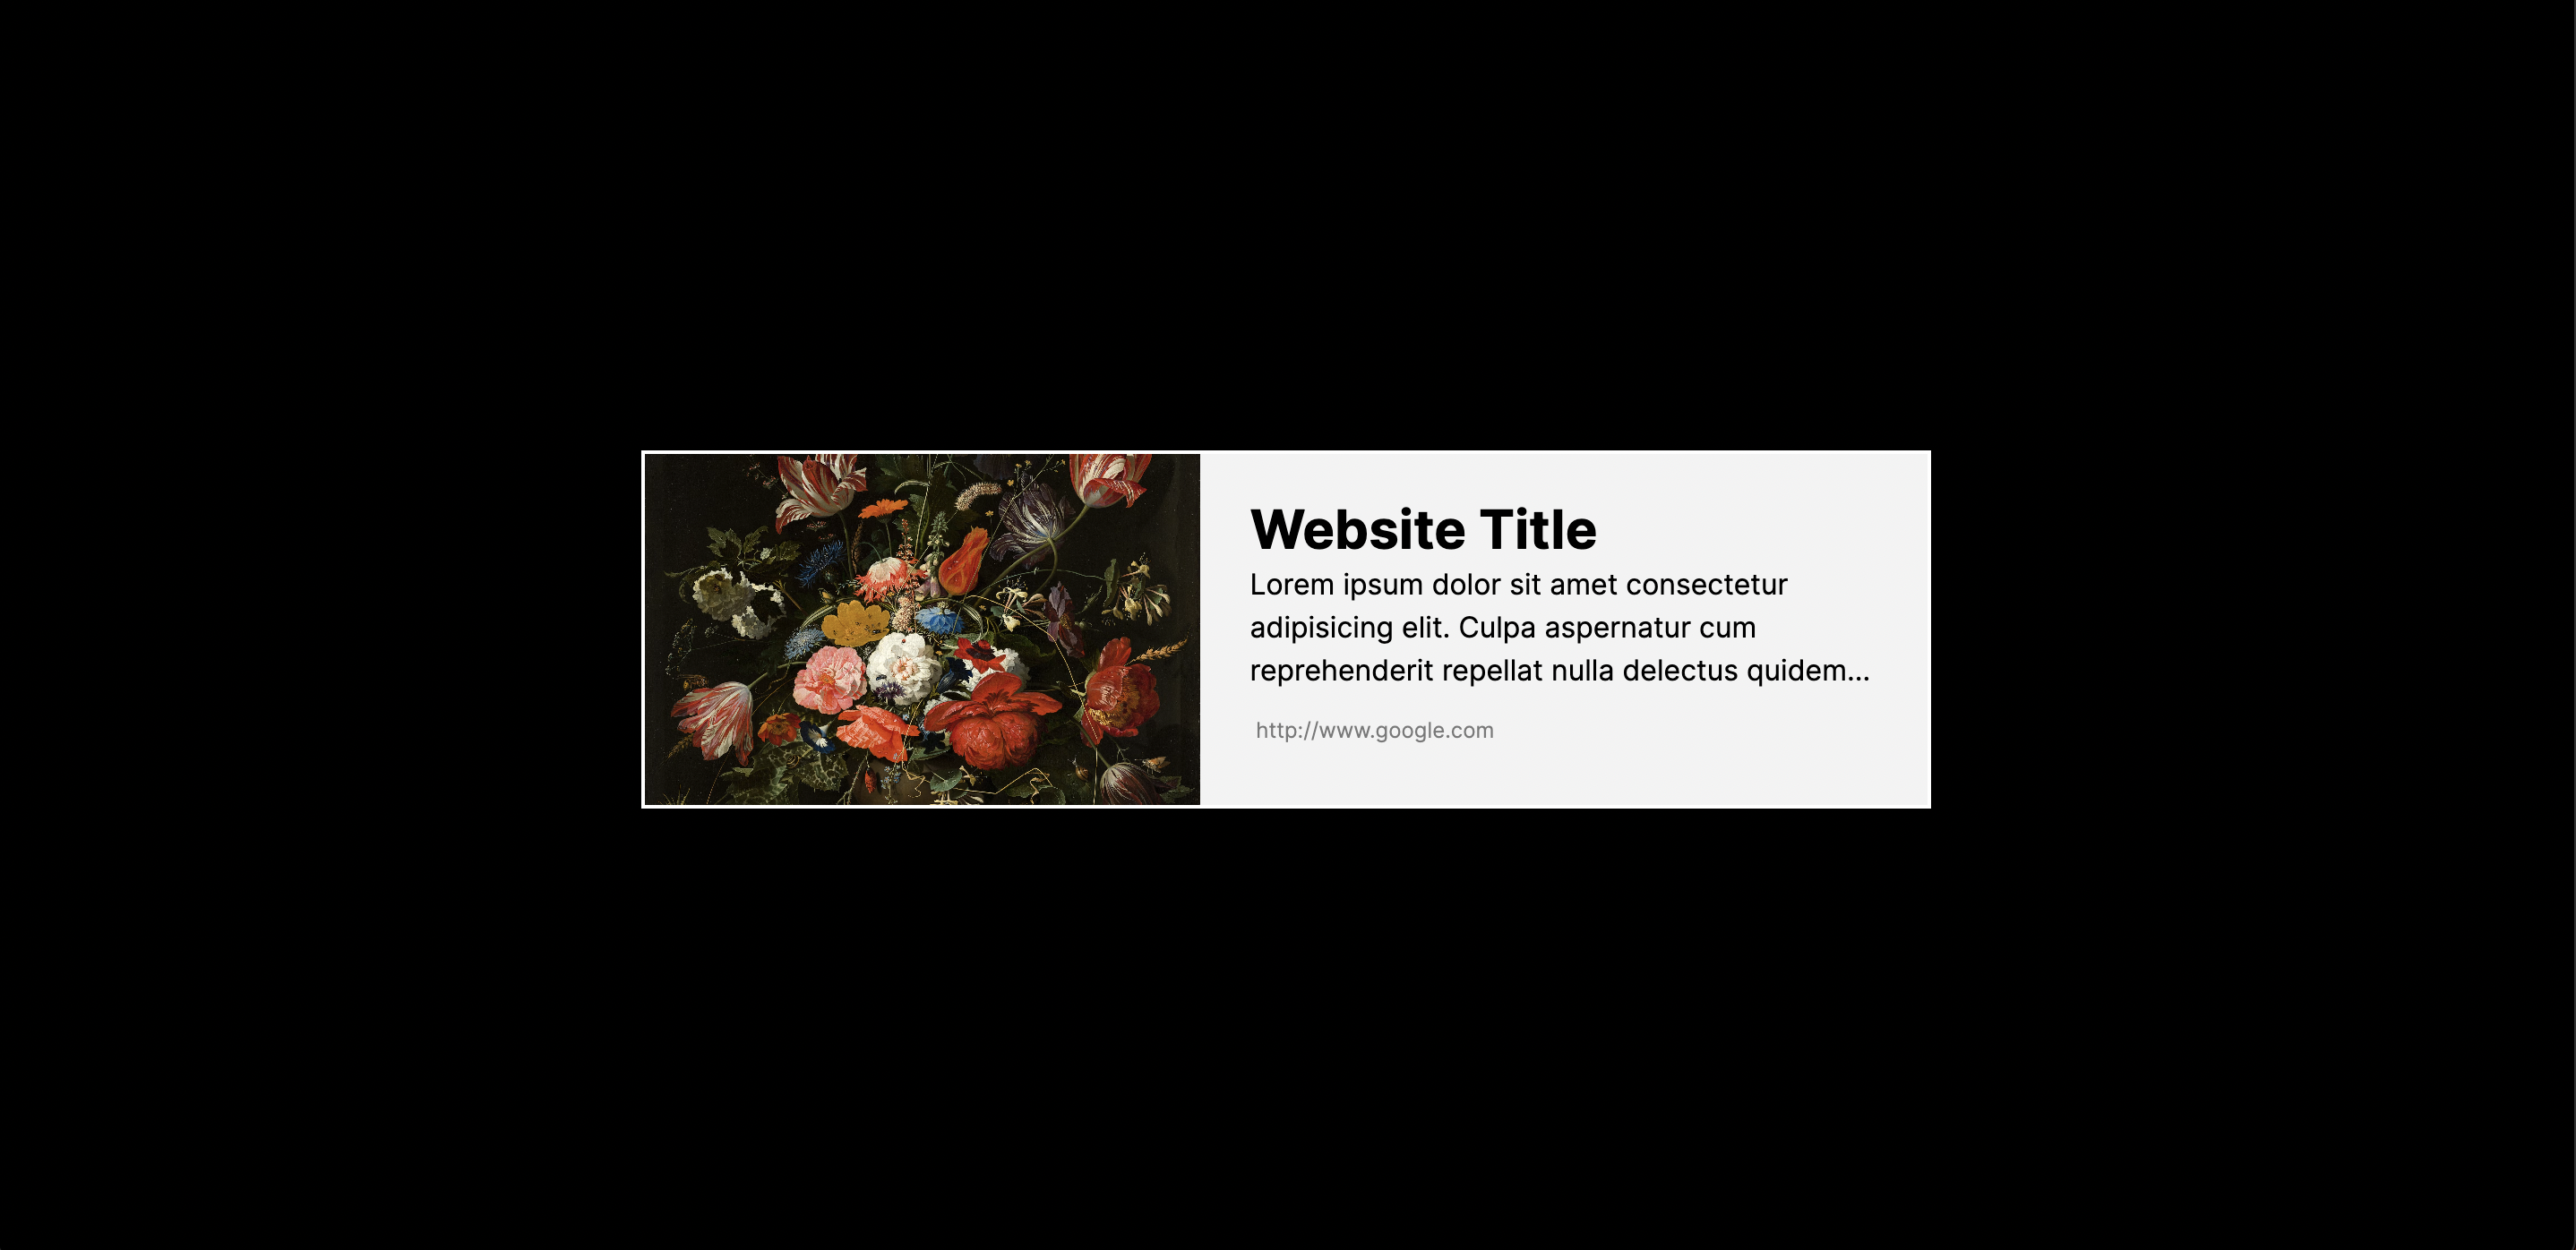
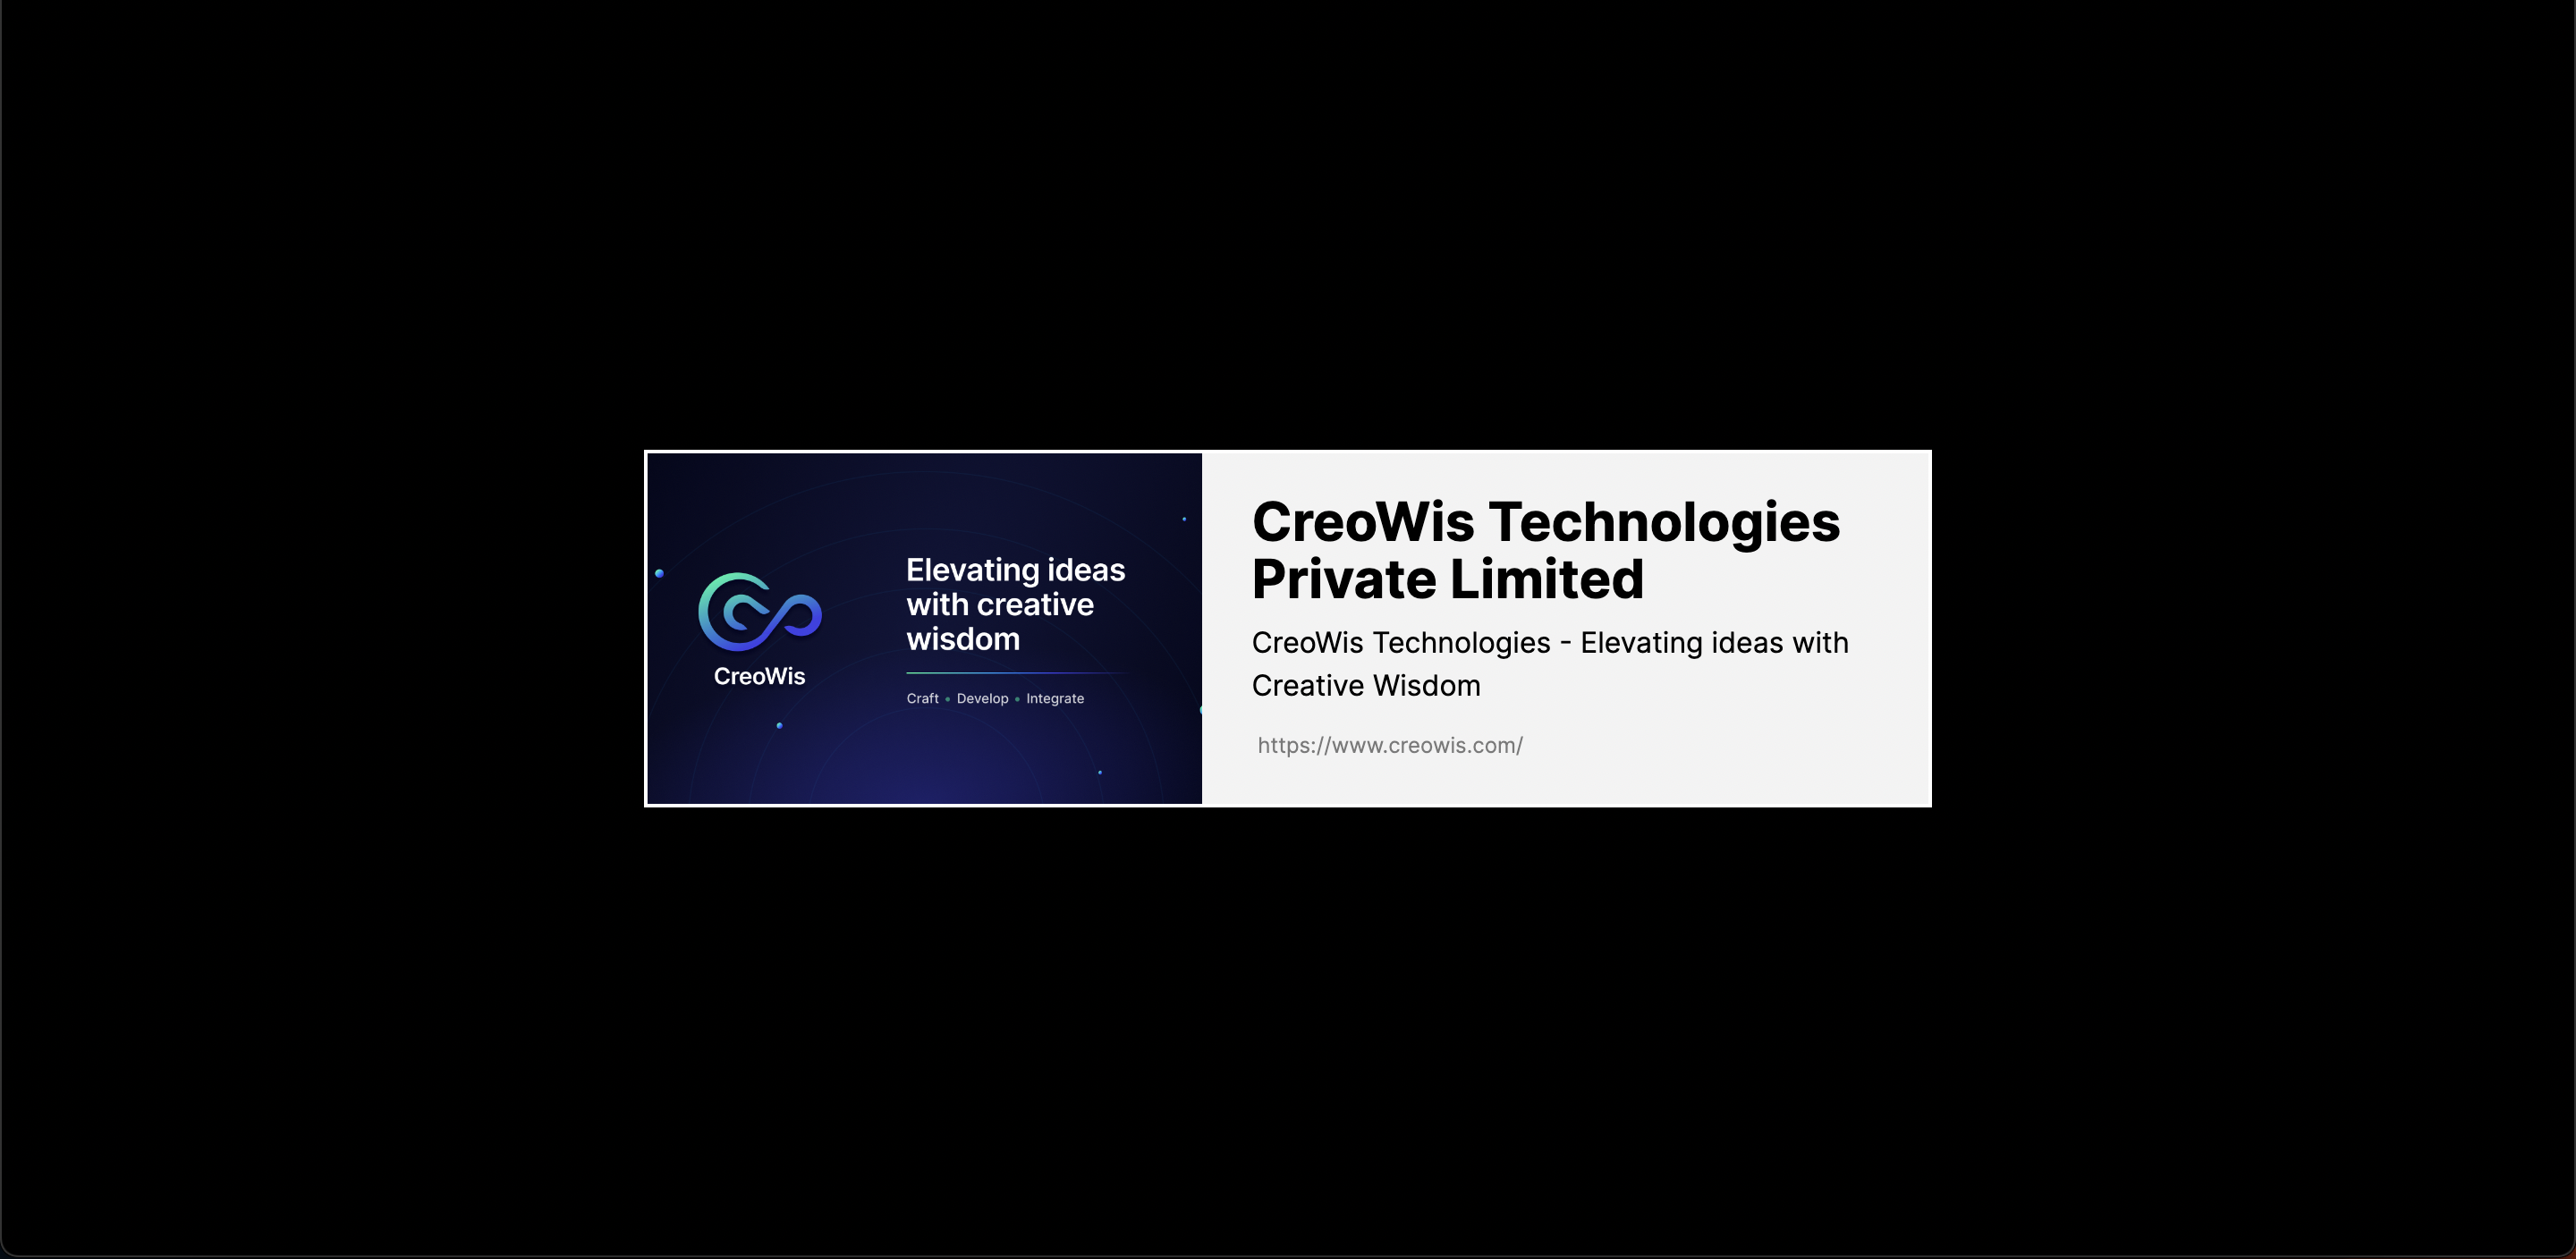
Hey there! Ever wondered how to make your shared website links stand out on platforms like LinkedIn, Twitter, or WhatsApp? Well, you're in for a treat because we're about to dive into the exciting process of crafting captivating link previews that will elevate the user experience!

So, picture this: You've got a fantastic website, and you want to share it with the world. But how do you make that link look as awesome as your content? That's where NextJs with server components comes into play. Trust me, and it's the secret sauce to constructing visually appealing and informative link previews that will grab attention and leave a lasting impression.

Now, here's a little heads-up. While you do have the option to use client components, we strongly recommend going for server components. Why? It's all about avoiding those pesky CORS (Cross-Origin Resource Sharing) issues that could rain on your parade. The examples we provide are designed with your peace of mind, ensuring a smoother implementation without the headaches associated with cross-origin requests.

So, buckle up and prepare to take your link-sharing game to the next level with NextJs and server components. It's time to make those link previews pop and leave everyone clicking for more! 🚀

Initial Project Setup

Alright, let's kick things off with setting up our NextJs project! Follow these steps, and you'll be on your way to crafting those stunning link previews in no time.

npx create-next-app@latest

How to Create the Initial Pages

Let's prepare a page.js file for the project. Create the file and add the following code:

import LinkPreview from "./components/LinkPreview";

const Page = () => {
  return (
    <div className="h-screen w-full flex justify-center items-center">
      <LinkPreview />
    </div>
  );
};

export default Page;

Let's set the stage for our project by creating a super cool component! Head over to the "components" folder and work your magic in a file called LinkPreview.js. I'm hooking you up with some HTML code and basic Tailwind CSS styling in this file. It's like a sneak peek of the fantastic appearance we want for our link previews. This component is your go-to for bringing the link data to life visually. Ready to make those links pop on the screen? Let's do this! 🎨

import Link from "next/link";

async function LinkPreview() {
  return (
    <Link
      href={"http://www.google.com"}
      target="_blank"
      className="text-black  w-[50%] h-[200px] cursor-pointer flex items-center bg-[#f3f3f3] gap-3 text-left border-white border-[2px]"
      style={{
        textDecoration: "none",
      }}
    >
      <div className="object-cover h-full">
        <img
          src={
            "https://images.unsplash.com/photo-1579783902614-a3fb3927b6a5?ixlib=rb-4.0.3&ixid=M3wxMjA3fDB8MHxwaG90by1wYWdlfHx8fGVufDB8fHx8fA%3D%3D&auto=format&fit=crop&w=2005&q=80"
          }
          alt="Link Preview"
          className="object-cover h-full w-[340px] m-0"
        />
      </div>
      <div className="p-4 w-[60%]">
        <h3 className="text-3xl font-bold leading-[2rem] mb-2 ">
          Website Title
        </h3>
        <p className="text-base  line-clamp-3 mb-2 ">
          Lorem ipsum dolor sit amet consectetur adipisicing elit. Culpa
          aspernatur cum reprehenderit repellat nulla delectus quidem iusto.
          Aliquid rerum nesciunt unde itaque reiciendis similique dolores quod,
          ea suscipit distinctio quis.
        </p>
        <span className="mt-3 opacity-50 text-xs">
          &nbsp;{"http://www.google.com"}
        </span>
      </div>
    </Link>
  );
}

export default LinkPreview;

Check out this beautiful page—it's such a fresh look! What do you think of the design? I'm hoping you'll like it. 🌟

The dummy look of the project.

Getting Data from Url

Alright, let's level up the functionality by creating a super cool function that snags all the juicy details from a given URL! Imagine this function as your trusty sidekick, equipped to extract vital information like the website title, description, and preview image – straight from those clever meta tags. These tags might throw prefixes like og: or twitter: at us, but no worries, we've got it covered!

Now, here's the secret sauce: we're bringing in a library called JSDOM to the party. NodeJs might not have its own magic wand for HTML parsing, but with JSDOM on our team, we're unstoppable! This library lets us dive into the HTML content, sift through those meta tags, and fetch the key details we crave – like a digital treasure hunt!

So, get ready to empower your app with the ability to dynamically pull in and flaunt the essential details from any URL you throw its way. It's time to make your link previews visually appealing and super informative! 🌐💫

npm i jsdom

Sure thing! Let's kick things off by naming our function. How about we go with the name "extractMetaTags"? Exciting, right? So, in the upcoming steps, we'll be working with the awesome function we just named to make those link previews shine! Get ready to add some magic to your project! 🌟.

import { JSDOM } from "jsdom";

// Function to fetch Open Graph details for a given URL
const extractMetaTags = async (url) => {
  try {
    // Fetch the content of the URL
    const response = await fetch(url);
    const html = await response.text();

    // Parse the HTML using JSDOM
    const dom = new JSDOM(html);
    const document = dom.window.document;

    // Extract meta tags from the document
    const metaTags = Array.from(document.querySelectorAll("meta")).reduce(
      (tags, meta) => {
        // Get the name, property, or itemprop attribute of the meta tag
        const name =
          meta.getAttribute("name") ||
          meta.getAttribute("property") ||
          meta.getAttribute("itemprop");

        // Get the content attribute of the meta tag
        const content = meta.getAttribute("content");

        // If both name and content exist, add them to the tags object
        if (name && content) {
          tags[name] = content;
        }

        return tags;
      },
      {}
    );

    // Return an object containing title, description, and image
    return {
      title:
        document.title || metaTags["og:title"] || metaTags["twitter:title"],
      description:
        metaTags.description ||
        metaTags["og:description"] ||
        metaTags["twitter:description"],
      image:
        metaTags.image || metaTags["og:image"] || metaTags["twitter:image"],
    };
  } catch (error) {
    // Handle errors if fetching or parsing fails
    console.error("Error fetching Open Graph details", error);
  }
};

Now that our function is all set to take a URL and provide the essential data, let's seamlessly integrate it into our LinkPreview component. Here's the scoop: introduce a snazzy new prop called url to the component and pass it to the function. This small yet mighty move will replace those static values with dynamic variables, opening the door to a world of versatility and adaptive display of information. Get ready to see your LinkPreview component come to life with real-time, dynamic content! 🚀

import Link from "next/link";
import { JSDOM } from "jsdom";

const extractMetaTags = async (url) => {
  try {
    const response = await fetch(url);
    const html = await response.text();
    const dom = new JSDOM(html);
    const document = dom.window.document;
    const metaTags = Array.from(document.querySelectorAll("meta")).reduce(
      (tags, meta) => {
        const name =
          meta.getAttribute("name") ||
          meta.getAttribute("property") ||
          meta.getAttribute("itemprop");
        const content = meta.getAttribute("content");

        if (name && content) {
          tags[name] = content;
        }

        return tags;
      },
      {}
    );

    return {
      title:
        document.title || metaTags["og:title"] || metaTags["twitter:title"],
      description:
        metaTags.description ||
        metaTags["og:description"] ||
        metaTags["twitter:description"],
      image:
        metaTags.image || metaTags["og:image"] || metaTags["twitter:image"],
    };
  } catch (error) {
    console.error("Error fetching Open Graph details", error);
  }
};

async function LinkPreview({ url }) {
   //here calling the function
  const data = await extractMetaTags(url);

  if (!data) {
    return <p>Failed to fetch link preview.</p>;
  }
  return (
    <Link
      href={"http://www.google.com"}
      target="_blank"
      className="text-black  w-[50%] h-[200px] cursor-pointer flex items-center bg-[#f3f3f3] gap-3 text-left border-white border-[2px]"
      style={{
        textDecoration: "none",
      }}
    >
      <div className="object-cover h-full">
        <img
          src={data.image}
          alt="Link Preview"
          className="object-cover h-full w-[340px] m-0"
        />
      </div>
      <div className="p-4 w-[60%]">
        <h3 className="text-3xl font-bold leading-[2rem] mb-2 ">
          {data.title}
        </h3>
        <p className="text-base  line-clamp-3 mb-2 ">{data.description}</p>
        <span className="mt-3 opacity-50 text-xs">&nbsp;{url}</span>
      </div>
    </Link>
  );
}

export default LinkPreview;

Finally lets pass a url through page.js.

import LinkPreview from "./components/LinkPreview";

const Page = () => {
  return (
    <div className="h-screen w-full flex justify-center items-center">
      <LinkPreview url={"https://www.creowis.com/"} />
    </div>
  );
};

export default Page;

Check out the fantastic output that gets generated! When you take a peek, you'll see the magic happening. The page dynamically fetches the title based on the route, making each page unique and tailored to its content. It's like a personalized touch for every link you share. Exciting, right? And don't forget to customize the page content to make it truly yours! 🌟

Final Result

Conclusion

I hope you enjoyed the process of creating a link previewer with Next.js as much as I did! Building this feature not only adds a valuable skill to your toolkit but also showcases the versatility and power of Next.js, especially with the game-changing benefits of server components overcoming CORS challenges.

Throughout this journey, you navigated through setting up a Next.js project, creating a dynamic UI with Tailwind CSS, and implementing a function to fetch and display crucial details from any given URL. The incorporation of JSDOM further highlights the adaptability of your solution, showcasing its capability to parse HTML content seamlessly. Cheers to expanding your skillset and building awesome things with Next.js! 🚀


We at CreoWis believe in sharing knowledge publicly to help the developer community grow. Let’s collaborate, ideate, and craft passion to deliver awe-inspiring product experiences to the world.

Let's connect:

This article is crafted by Chaitanya Agarwal, a passionate intern developer at CreoWis. You can reach out to him on X/Twitter, LinkedIn, and follow his work on the GitHub.

CreoWis Technologies © 2024

Crafted with passion by CreoWis